Worklog Grizzly Mod 2003
worklog means "how was it made ?" and the reason why I show you this,
that maybe one or the other visitor find here a solution for his own problem.
If you need help, further information, contact me
mail : chewy@chewy.de
icq : 260 93 202
the grizzly started like all other caseconstructions with the mean problem: which form ? One of my favourite nicknames is "teddy" and one of my favourite sweets is the "gummy bear" and so I decided to create a case that looks like one of them. The first problem after deciding what kind of form to choose, is that I would create a wooden case. A wooden and rounded case that looks like a gummybear. Hard stuff, but with the new technology of MDF (middle density Fibre) plates not really a problem - only a lot of work.
a lot of work means that at first you need a "form" where you can take the plates in and press them with high pressure in the right position and two plates against each others with glue will hold up the form.

pic 1 - the form to get the sides of the gummybear
And there from another view...

pic 2 - the form from another view - looks like the ones you´re using for building ships
So, if you have made it right and the pressure and settings
where ok, you will get this form as one of the sides of the grizzly....

pic 3 - one side after getting it out of the form... 2 plates against ech others
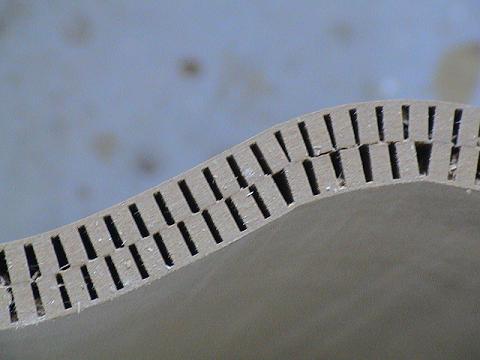
this is the detail of the MDF plate called "TOPAN"

pic 4 - take a look at the glue between the two plates
to be correct.... the other side :
pic 5 - thats the way it should look like...
and if you made the right bottom for it... it looks like this
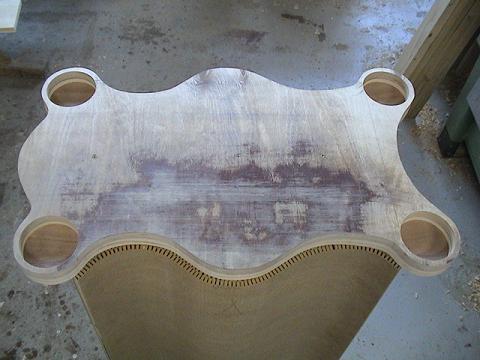
pic 6 - fits perfect but ok.... should be bottom, not top ;o)
and here you can see both sides and the bottom
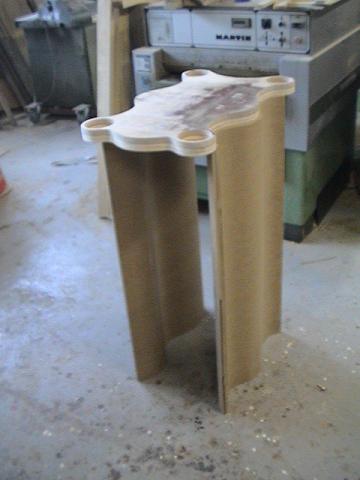
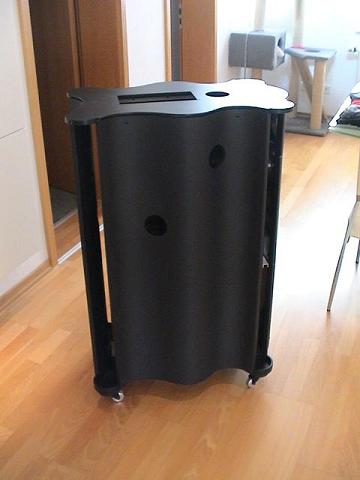
pic 7 - "I think this case will be a enormous one..."
Short Explanation: I decided to cut off a corner on the top and bottom of the sides to make them fitting perfect in a inner construction. This means that the sides of the case will fit "IN" the case to stabilize the construction a little bit more. You will see in the further description why I made it but here is the picture HOW I did it. The machine is a big milling-machine to mill the corner on the top and bottom
pic 8 - the work on the milling-machine to bill the corners on top and bottom
Short break again: the first thing have to plan exactly is the "inner construction". the case "outside" is only the form, but how will your hardware fits in ? How many harddisk have to do their work in the case ? Do you need space for watercooling components, do you want to change your motherboard, processor as easy as possible without de-installing all other components ? THESE Questions must be answered before you make the first cut! And this is the reason why the Grizzly (remember: its a Server Tower) is so huge and heavy. The "heart" of the construction is a selfmade aluminium construction...

pic 9 - the "inner life" of the grizzly : aluminium
and here another view to the heart ...
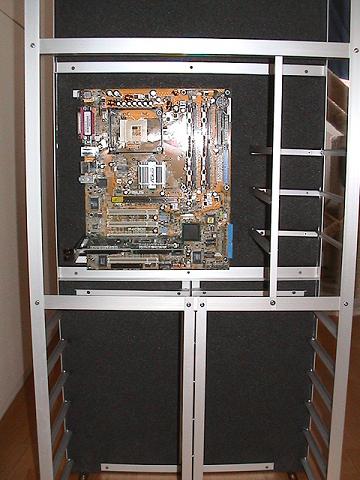
pic 10 - what has to fit in ? THIS is the basic question.
and after hundred of hours....
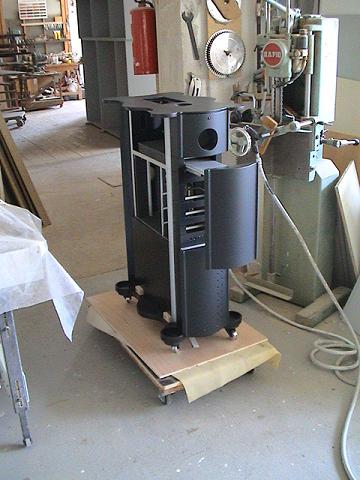
pic 11 - carry it out ... and be careful with it...
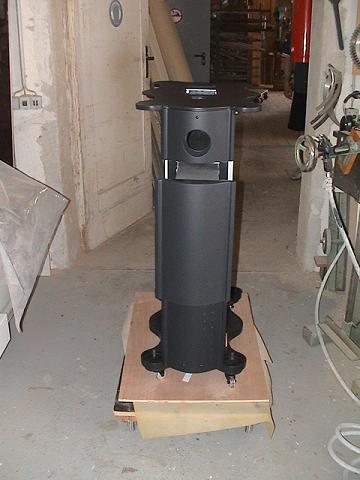
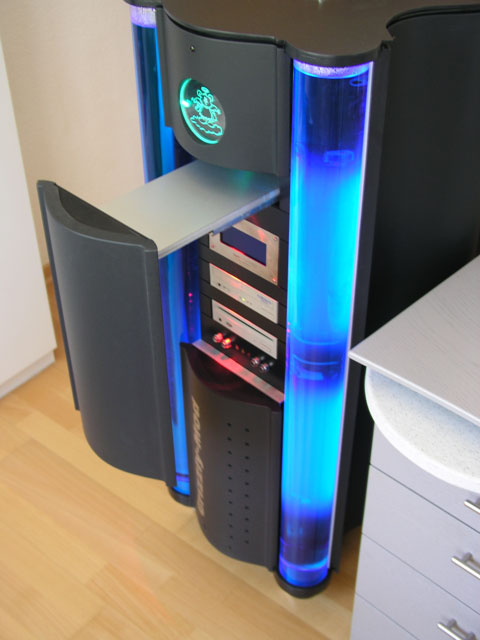
pic 12 - the front of the construction with the sliding door
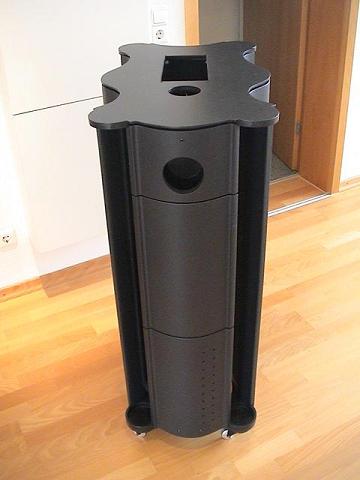
pic 13 - back at home and still a beauty
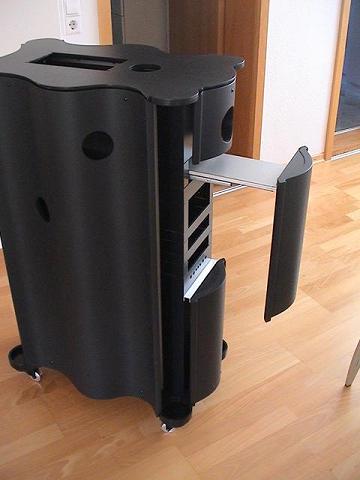
pic 14 - the door again --- push it ;o)
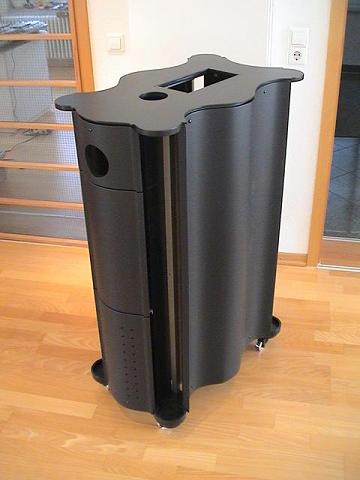
pic 15 - hmm.. why these holes at the corner ? *g* you will see...
pic 16 - the window-holes for the "view inside"

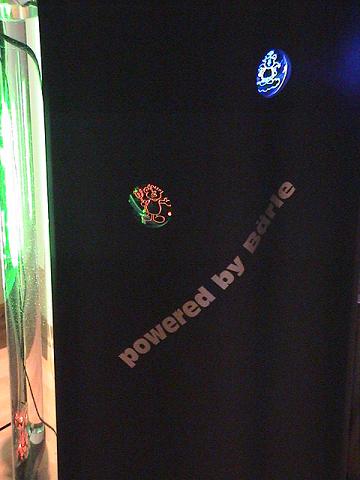
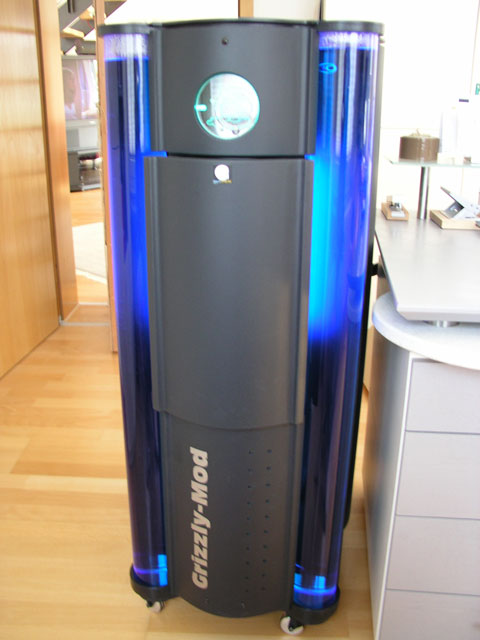
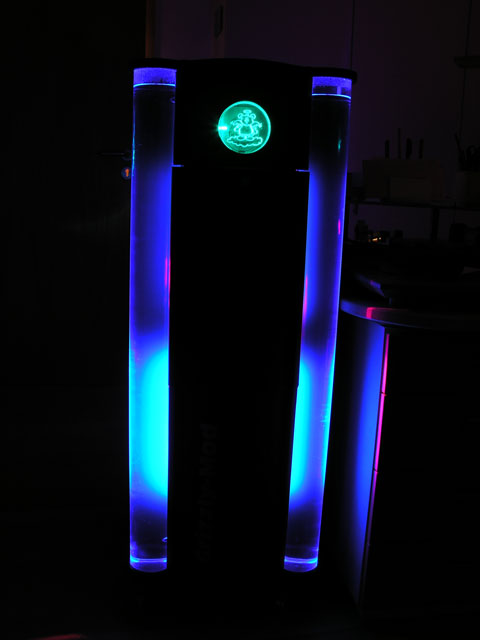
pic 17 - powered by bärle means me ;o) (teddy)
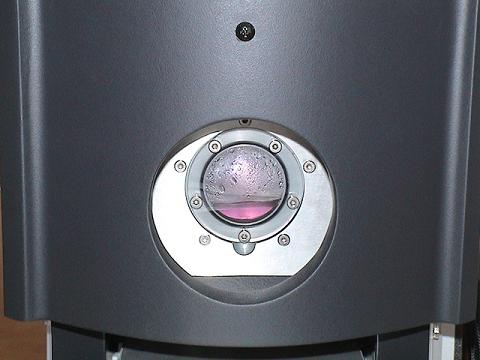
pic 18 - the Watercooling Aquatube for viewing - looks like a submarine

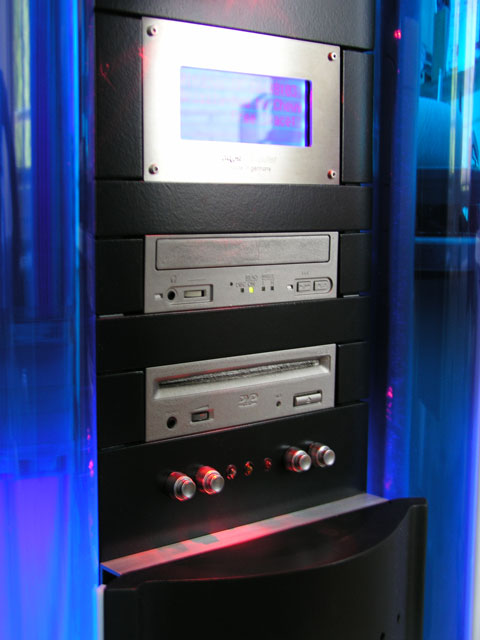
pic 19 - power to the hardware! looks more complicated than it was...

pic 20 - first test of the equalizer (VU-Meter)
klick HERE for a sound / video file to see how great it works...

pic 21 - not beautiful but it works - *phew*

pic 22 - the hardware 2003 - see next picture for 2004

pic 23 - the watercooled 9800 AIW with "aquagratix" in red (thx to Stephan, Chris & Dino)
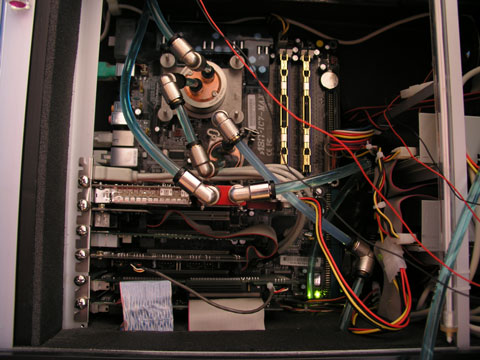
pic 24 - Abit IC7 Max3, OCZ Gold Edition and PIV EE 3,3 cooled by Cuplex Evo

pic 25 - last view on the HDDs before the noisekiller comes ...
pic 26 - works fine. SCSI U320 is very loud... but now real silent.
pic 27 - a view on the top: Aquatube Fill-in and radiator for cooling
pic 28 - the door - sliding and sliding and sliding.... great job!
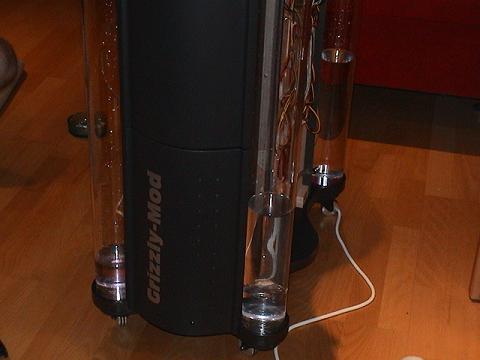
pic 29 - Thats Watercooling - now you know why there was a hole in the corner

pic 30 - ... and it took a long time ...

pic 31 - ... and tons of water *grin*

pic 32 - .... but I made it !!!
30 Liters of destilled Water in the Case now...

pic 33 - thats real cool
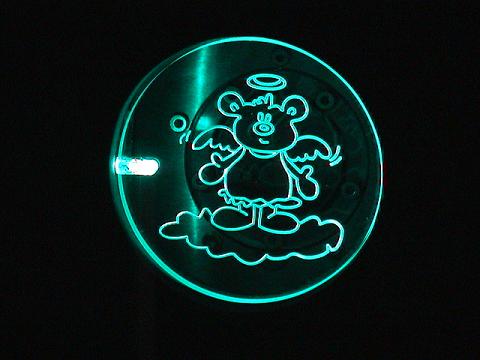
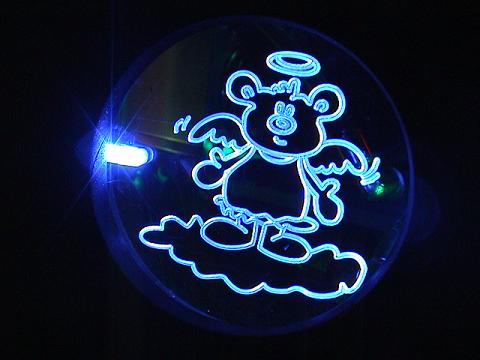
pic 34 - Aren´t we all angels ? The front window with the Aquatube behind...

pic 35 - the Devil inside: Window with view to the hells kitchen : PIV EE 3,2 GHZ
pic 36 - the "Eheim 1250" waterpump is working behind this window - cool angel
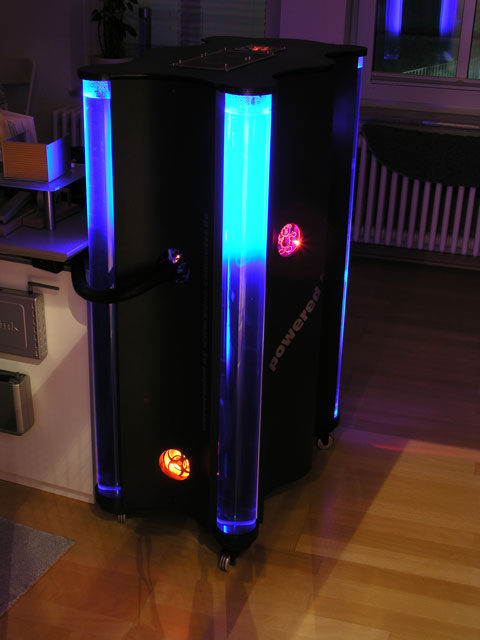
pic 37 - this is the whole view to the side

pic 38 - the cat isn´t as small as it seems here - Our Gina wants to know how it works
pic 39 - Bluemotion by Aquacomputer - looks great but much more greater at night !
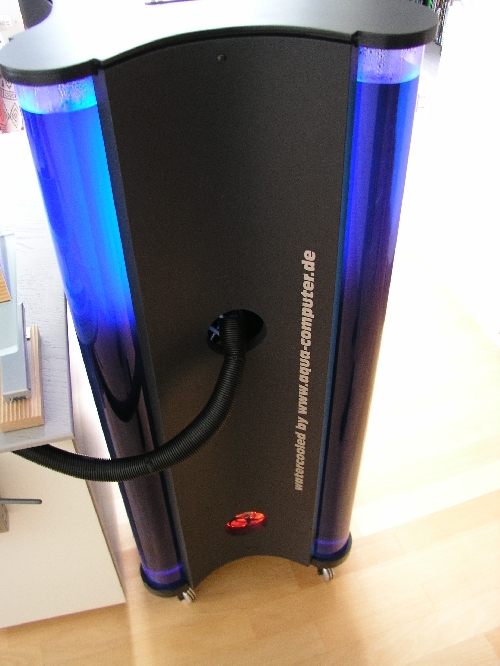
pic 40 - My favourite Watercooler Company : www.aqua-computer.de
Great components and great Design !
pic 41 - enough now ? ;o)
More pics at night will show you how great it looks like ...

pic 42 - Sorry for the bad quality... but it shows enough, or ?
pic 43 - everythings selfmade and exclusive - silver is technic pure.
pic 44 - door closed ... the grizzly at night looks like a skyline...
pic 45 - even from the backside : WOW !
So, this was the worklog of my Caseconstruction, I hope you enjoyed it.
The next CaseCon is in progress.
Feel free to contact me if you have any kind of question.